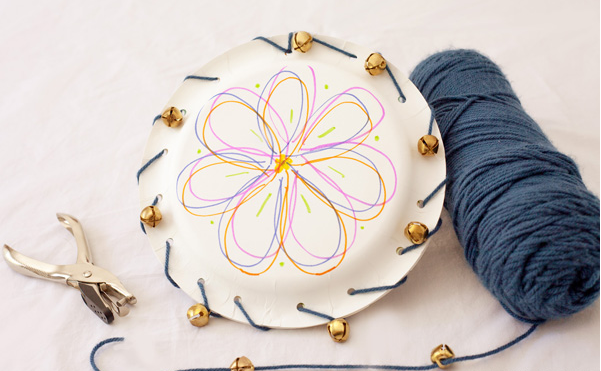
Homemade musical instruments are a fun and effective way of helping children to develop a better understanding of sound. They also help children to understand where sound comes from and how it changes. Why not introduce some creativity into your music classes by teaching students how to make their own tambourine?
These easily accessible percussion instruments are a perfect educational resource for introducing children to music, beat and rhythm, whilst increasing dexterity and coordination.
What Will I Need?
- Two paper plates
- String
- A hole punch
- Jingle bells (Available from most good craft shops)
- Markers or crayons

Instructions:
- Hold two paper plates face to face and punch holes around the perimeter of the plates, with gaps about an inch and a half apart.
- Take your length of string and weave it up through a hole around the outside and back up the same hole again, tying a knot to secure the plates together. Then, string a jingle bell through your string and continue weaving your plate. Alternate your jingle bells every other hole or more, depending on how many bells you have.
- When you get back to the hole in which you started, tie off your yarn again and let your child decorate his/her DIY instrument to make it their own. Then, shake to play and the tambourine is ready to go!
More Information
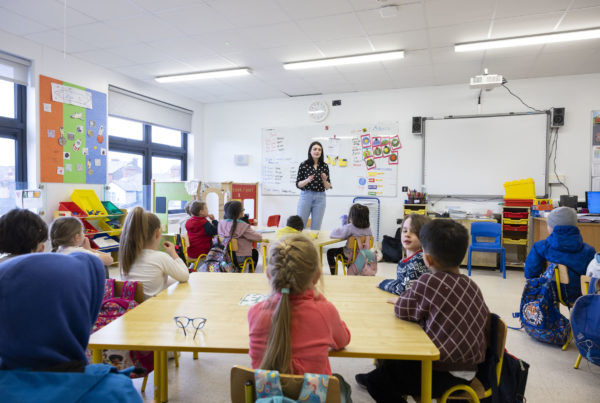
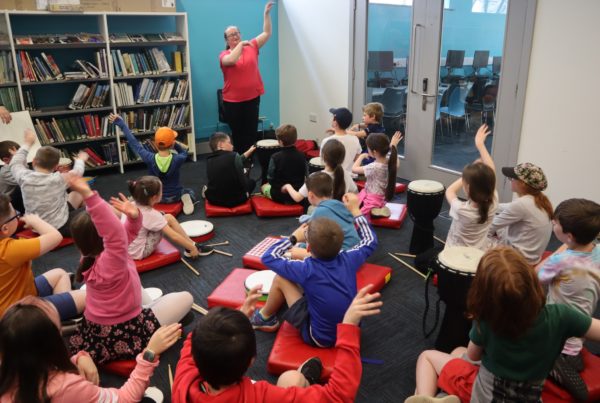
Our team of qualified music tutors find that making and playing percussion instruments as a class is a great way to promote team-work and collaboration in a fun group environment. The music-making process is a highly engaging learning experience for both teachers and students, especially with the help of these teaching tools.
Share your creations
We’d love to see pictures of the instruments you’ve created and hear how you got on with them! Share your feedback with us on Facebook and Twitter.
Interested in booking a workshop or programme for your school? Get in touch here for more information.